The Ultimate Guide to Screen Protectors: What You Need to Know
Table of Contents
-
Introduction
-
Why Screen Protection Matters
-
Different Types of Screen Protectors
-
Pros and Cons of Each Type
-
Application Techniques
-
How to Maintain a Screen Protector
-
Final Thoughts
-
FAQs
Introduction
Your phone is basically your sidekick—until you drop it face-down on concrete. 😬
A cracked screen can ruin your day and your wallet. That’s why having a solid screen protector is one of the smartest moves you can make.
In this ultimate guide, we’ll break down everything you need to know—no tech jargon, no fluff. Just straight-up helpful info to protect your gear.
Why Screen Protection Matters
📲 It’s Your First Line of Defense
Your screen is the most vulnerable part of your phone. A screen protector absorbs the impact and helps prevent cracks or scratches.
💵 It Saves You Money
Repairing a phone screen can cost anywhere from $100 to $300+. A screen protector? Usually under $20.
📈 It Maintains Resale Value
Planning to upgrade later? A flawless screen makes your device worth more.
Different Types of Screen Protectors
Let’s break down the big players in the screen protector game:
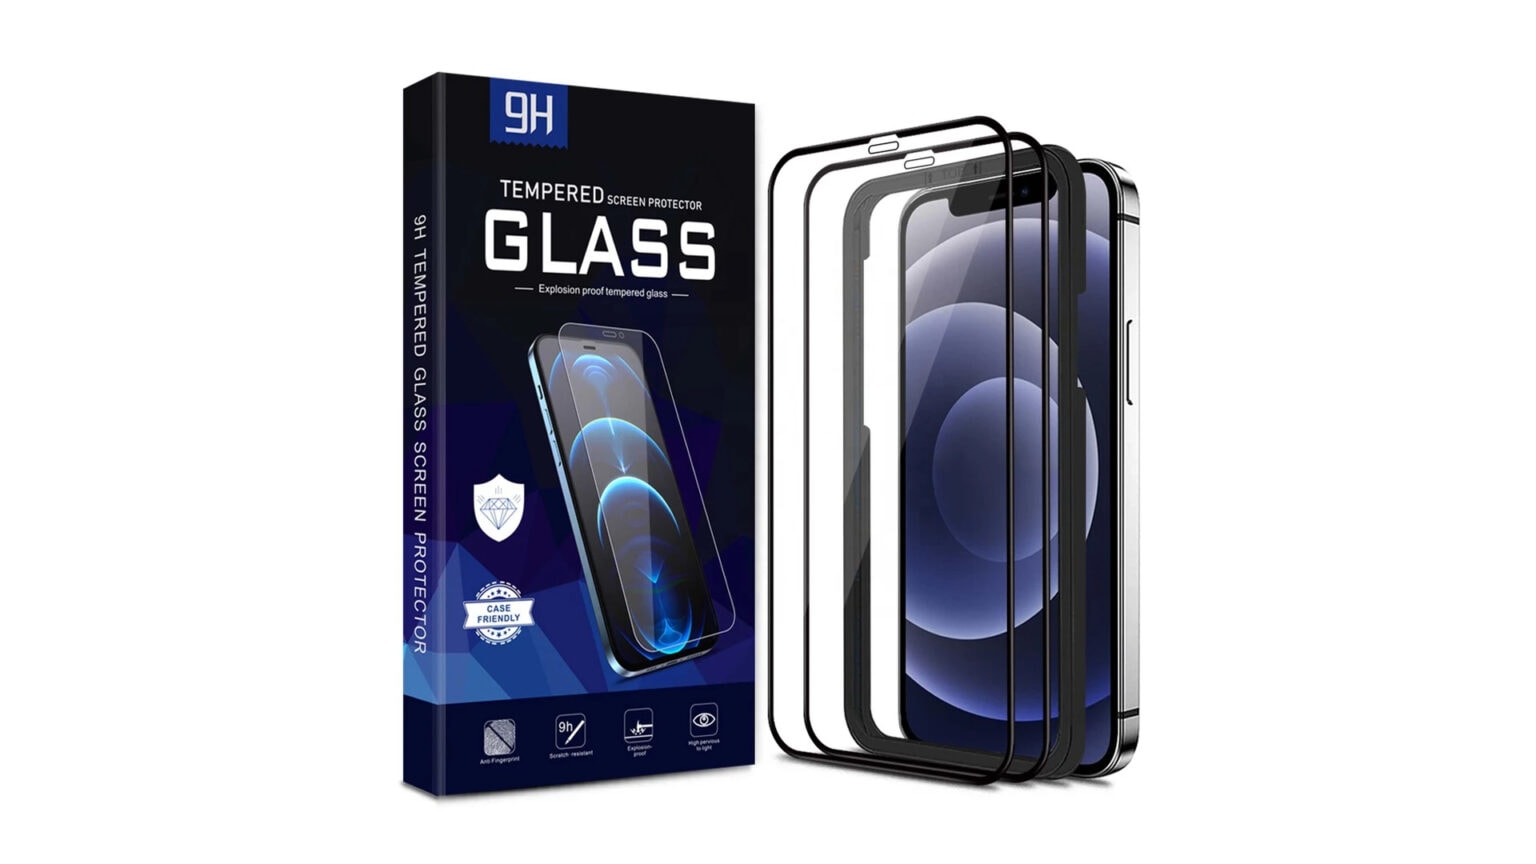
🔹 Tempered Glass
-
Most popular
-
Ultra-durable
-
Feels like the real screen
-
Easy to install
🔹 TPU (Thermoplastic Polyurethane)
-
Flexible
-
Great for curved screens
-
Self-healing for minor scratches
-
Trickier to install
🔹 PET (Polyethylene Terephthalate)
-
Thin plastic film
-
Good for basic protection
-
Lightweight and cheap
-
Not very tough
🔹 Privacy Glass
-
Blocks side views
-
Keeps onlookers out
-
Slightly dimmer display
Pros and Cons of Each Type
| Type | Pros | Cons |
|---|---|---|
| Tempered Glass | Strong, smooth, clear | Slightly thicker |
| TPU Film | Flexible, self-healing | Installation can be tricky |
| PET Film | Affordable, ultra-thin | Less protection |
| Privacy Glass | Excellent privacy, strong | Slight loss in brightness |
Application Techniques
Applying a screen protector doesn’t need to be scary—just follow these steps:
✨ Step-by-Step Installation:
-
Wash your hands
-
Clean the screen with alcohol wipe
-
Use a dust sticker to remove particles
-
Align the protector carefully
-
Press and smooth from the center out
-
Remove air bubbles with the soft cloth
Pro Tip: Apply in a steamy bathroom to minimize dust!
How to Maintain a Screen Protector
🧼 Clean It Weekly
Use a microfiber cloth and gentle cleaner to keep it looking new.
🧲 Check for Lifting Edges
If the corners lift, dirt can get underneath. Replace it if needed.
🔄 Replace When Damaged
Cracked or scratched? Time for a new one—it’s done its job.
Final Thoughts
Screen protectors are like seatbelts for your smartphone—cheap, effective, and sometimes lifesaving. They help extend your phone’s life, protect your investment, and make life just a little less stressful.
So, if you're not using one yet, what are you waiting for? Slap one on and scroll on with peace of mind.
FAQs
1. What if I mess up during installation?
Many brands include two protectors in case of mistakes. Or, buy one with alignment tools.
2. Does a screen protector affect screen clarity?
High-quality ones are 99% transparent. You won’t even notice it’s there.
3. Can I use a screen protector with a stylus?
Yes! Just make sure it’s stylus-friendly, especially for tablets.
4. Will a protector interfere with Face ID or front cameras?
Nope. Most designs account for camera placement and facial recognition.
5. How do I know when it’s time to replace my protector?
Cracks, chips, or bubbling mean it’s time to swap it out.
sponsor post:
Taxi App Development Company in Dubai | EmizenTech